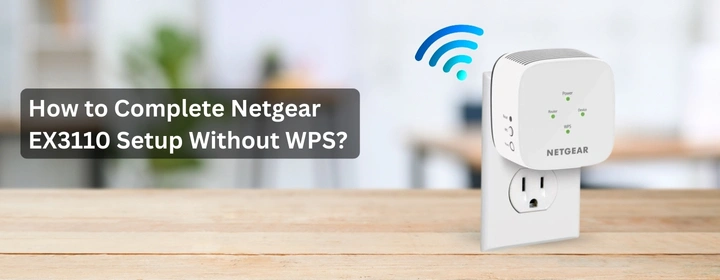
Setting up the Netgear EX3110 extender doesn’t have to be complicated, even if your router doesn’t support WPS. A lot of users run into this exact issue and assume they can’t complete the setup own their own. The process uses the mywifiext login page and takes only a few minutes once you know the sequence.
Here, in this guide we will also step through the entire installation process of a Netgear WiFi extender without WPS. The following guide includes connecting the device with the temporary WiFi provided by the extender, and putting it into the optimal location to ensure even hard-to-reach areas of the home have a seamless internet connection.
Step 1: Plug in and wake it up
Start with the basics. Find a wall socket for your EX3110. For setup, don’t get confused and stick it in the far corner of your house. Keep it in the same room as your main router. Later, you can move it.
After it has been plugged in, wait till the power light becomes green. Provided it is not, look at the side power button. Sometimes it’s off by default.
Step 2: Connect to the extender’s network
Now grab your phone or laptop. Open WiFi settings. You should see something like NETGEAR_EXT in the list of available networks. That’s your extender’s default network. Connect to it.
But your system will not have internet in the beginning while connecting to this network.
Step 3: Open the Netgear WiFi extender setup page
Do not search on Google. You want to actually type in the address.
- Open a browser.
- In the address bar, type mywifiext.net.
- If that doesn’t load, type 192.168.1.250 instead.
That should open the Netgear setup wizard. Some call it “Netgear Genie,” but whatever the name, you’ll know you’re in the right place if it asks you to create login details.
Step 4: Create login for the extender
You’ll be asked to set up a username and password. Don’t confuse this with your WiFi password. This login is just for the extender’s admin panel.
Pick something simple that you’ll actually remember. If you forget it, you’ll have to reset the whole extender. Trust me, it’s annoying to redo everything just because of a forgotten password.
Step 5: Choose the WiFi you want to extend
The Netgear WiFi extender setup will scan for networks around you. After a few seconds, it should show you a list of SSIDs (that’s just network names).
Pick your main WiFi. If your router broadcasts both 2.4GHz and 5GHz, you’ll see both. Set them up one by one. 2.4GHz is slower but covers longer distances. 5GHz is faster but shorter range. Most people connect both.
Step 6: Type your WiFi password
Here’s the make-or-break moment. Enter the exact WiFi password from your router. If you get one letter wrong, the extender won’t connect. Double-check uppercase and lowercase.
Once you hit next, the extender will try to connect to your router using those credentials. Give it a minute.
Step 7: Decide the extended network name
The extender will ask you if you want to keep the default name like HomeWiFi_EXT or rename it, keeping _EXT at the end is fine. You’ll instantly know which network is coming from the extender.
After it has been plugged in, wait till the power light becomes green. Provided it is not, look at the side power button.
Step 8: Reconnect to your new WiFi
The extender will restart just Wait for a minute or two. Now check your device’s WiFi list again. You’ll see your new extended network. Connect to it with the same password you use for your router.
Attempt to open a Web site or do a speed test. If it works, you’re good to go.
Step 9: Move the extender to the right spot
This part is where people usually go wrong. They either place the extender too close to the router (pointless) or too far (useless). The extender needs a solid signal from your router to rebroadcast.
Best placement: somewhere halfway between your router and the dead zone you’re trying to fix.
Check the signal light on the EX3110.
- Green = great spot.
- Amber = okay.
- Red = too weak.
Move it around until you get a stable green.
Step 10: Test everything
Walk around the house. Connect your phone, maybe stream a video, see how the signal feels in those weak areas. You may still be buffering, so you might move the extender a couple of feet. Wifi can make big changes out of little.
A few tips from my own setup mess
- If mywifiext won’t load, always try the IP address.
- If the extender doesn’t connect no matter what, reset it. There’s a tiny hole on the side—hold a pin in there for 10 seconds until the lights blink. Then start over.
- Don’t put the extender behind furniture or in a tight corner. WiFi signals gets disrupted due to walls and obstructions.
FAQs
Wrap-up
The Netgear WiFi extender setup for EX3110 without WPS isn’t complicated once you go step by step. All you need to do is take care of the placement of the device and remember the login information.
If you do all this no WPS button is needed. Just a bit of patience, and you’ll have WiFi reaching places in your house that used to feel like dead zones.


